A Quick Tour
Welcome to i.LEVEL Connect!
This page will give you an overview of the site's many features, and pointers on how to best use them!
Navigation
The majority of your navigating through the site will occur at the 'Navigation Sidebar' as highlighted below.
This navigation list will be referred to as the Sidebar throughout this documentation.
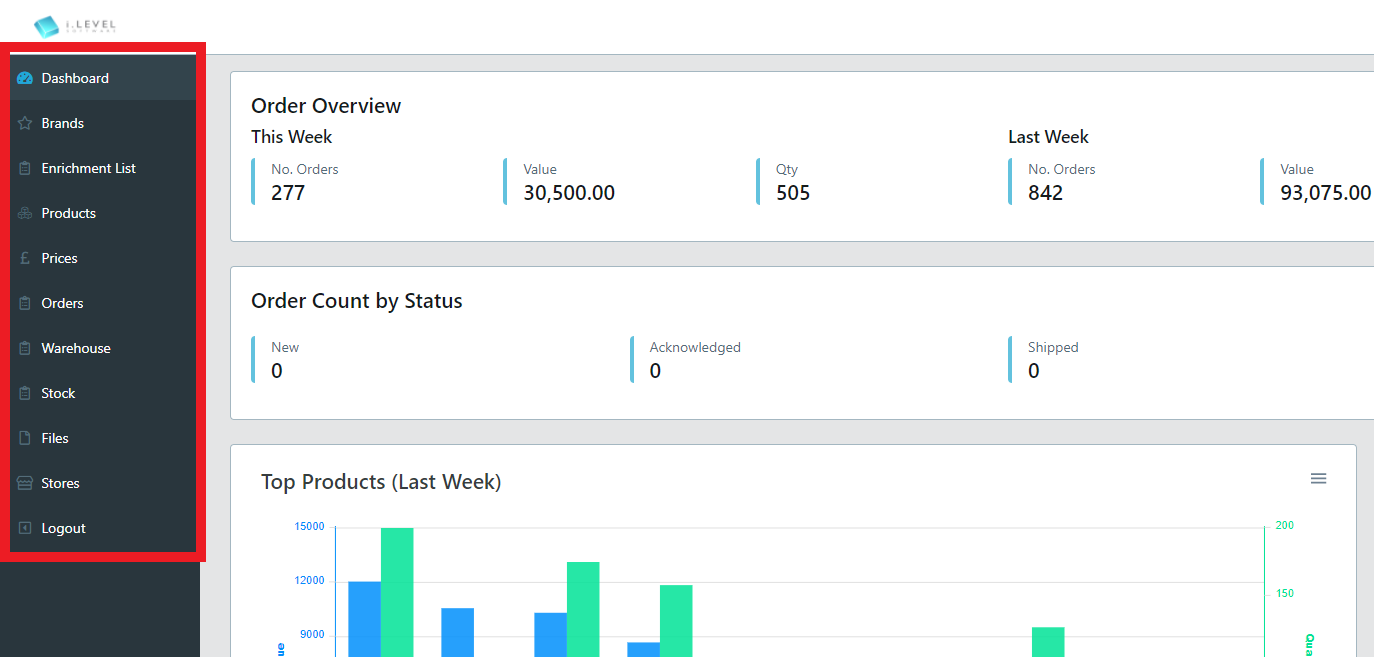
If your sidebar looks different don't panic! The sections available are determined by the permissions assigned to your account.
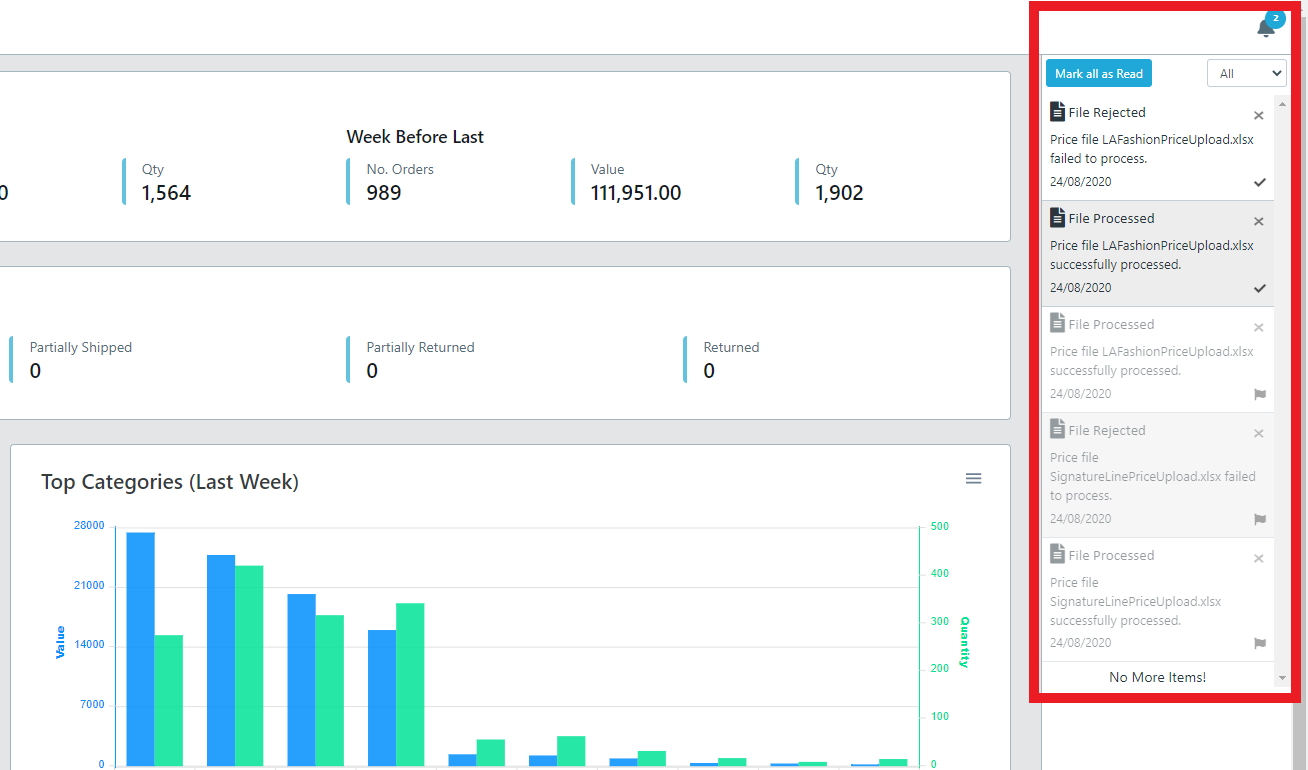
Notifications
i.LEVEL Connect employs a notification system to ensure you don't miss anything important!
To access your list of notification, click the bell icon in the top right.
This will open an aside menu with a list of all your notifications. This can be filtered between 'All', 'Read' and 'Unread' using the dropdown menu.
Clicking the flag or tick icon will mark the notification as unread or read respectivly.
Clicking the cross icon will allow you to delete notifications.
Clicking the notification body will redirect you to the relevant information. For example, clicking a 'File Rejected' notification will route you to the 'File Detail' screen where you will be able to review the exact error that occurred when attempting to import your file.
Data Listings
Most navigation options on the sidebar, such as Products and Orders, will take you to a data listing screen where you can view, report on, and process your data for the selected resource. Below is an example of the Products data listing.
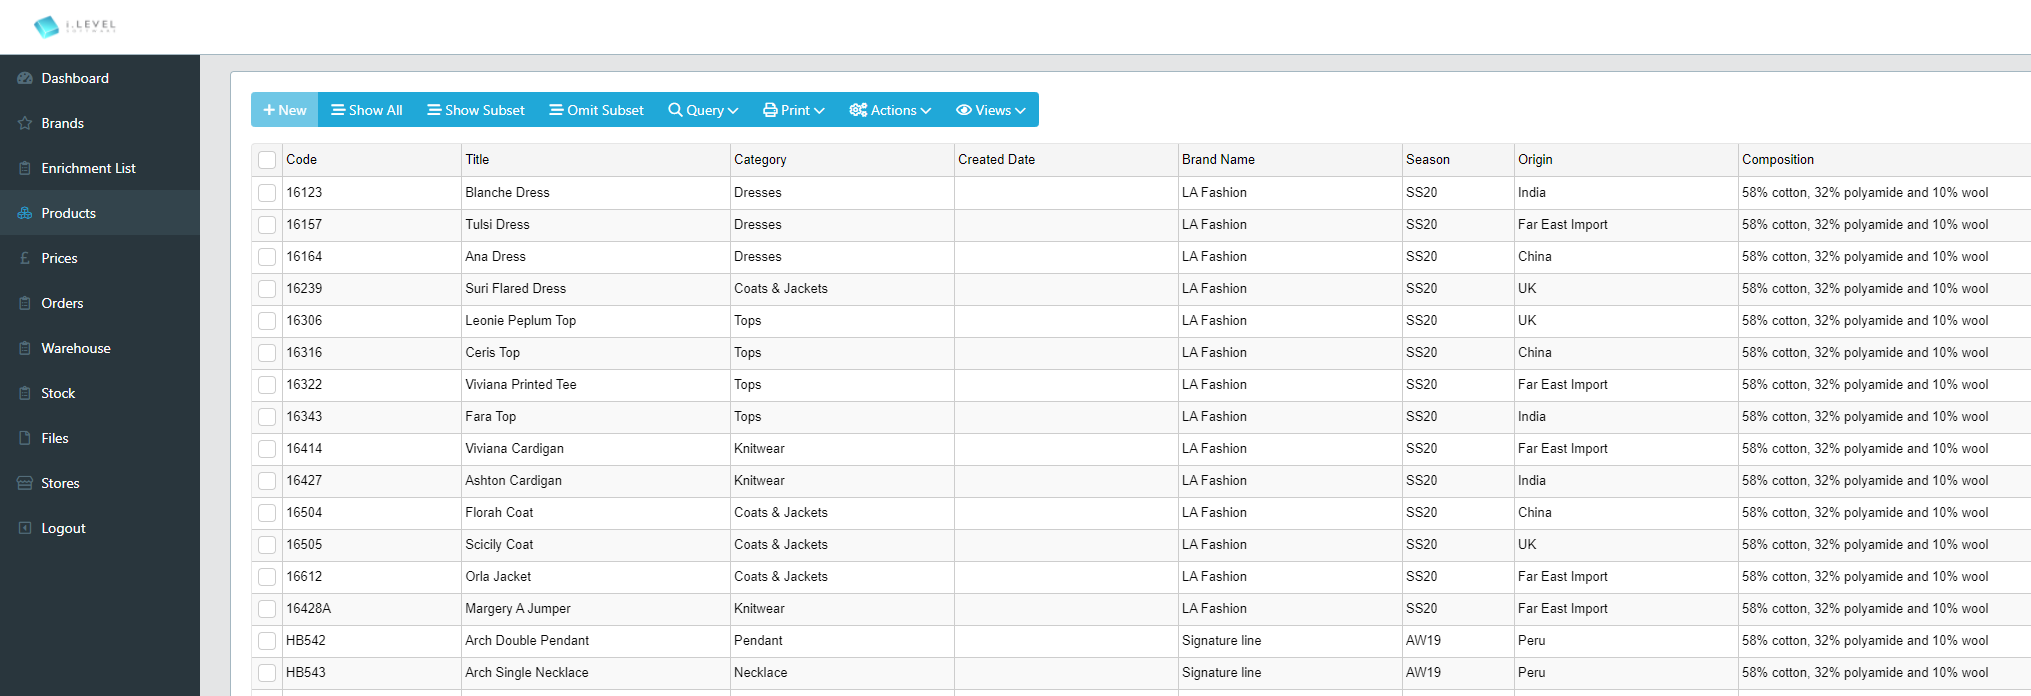
Listing Features
Listings have a number of common buttons and features. Some features may be disabled due to the user access you have or the features available in the given listing.
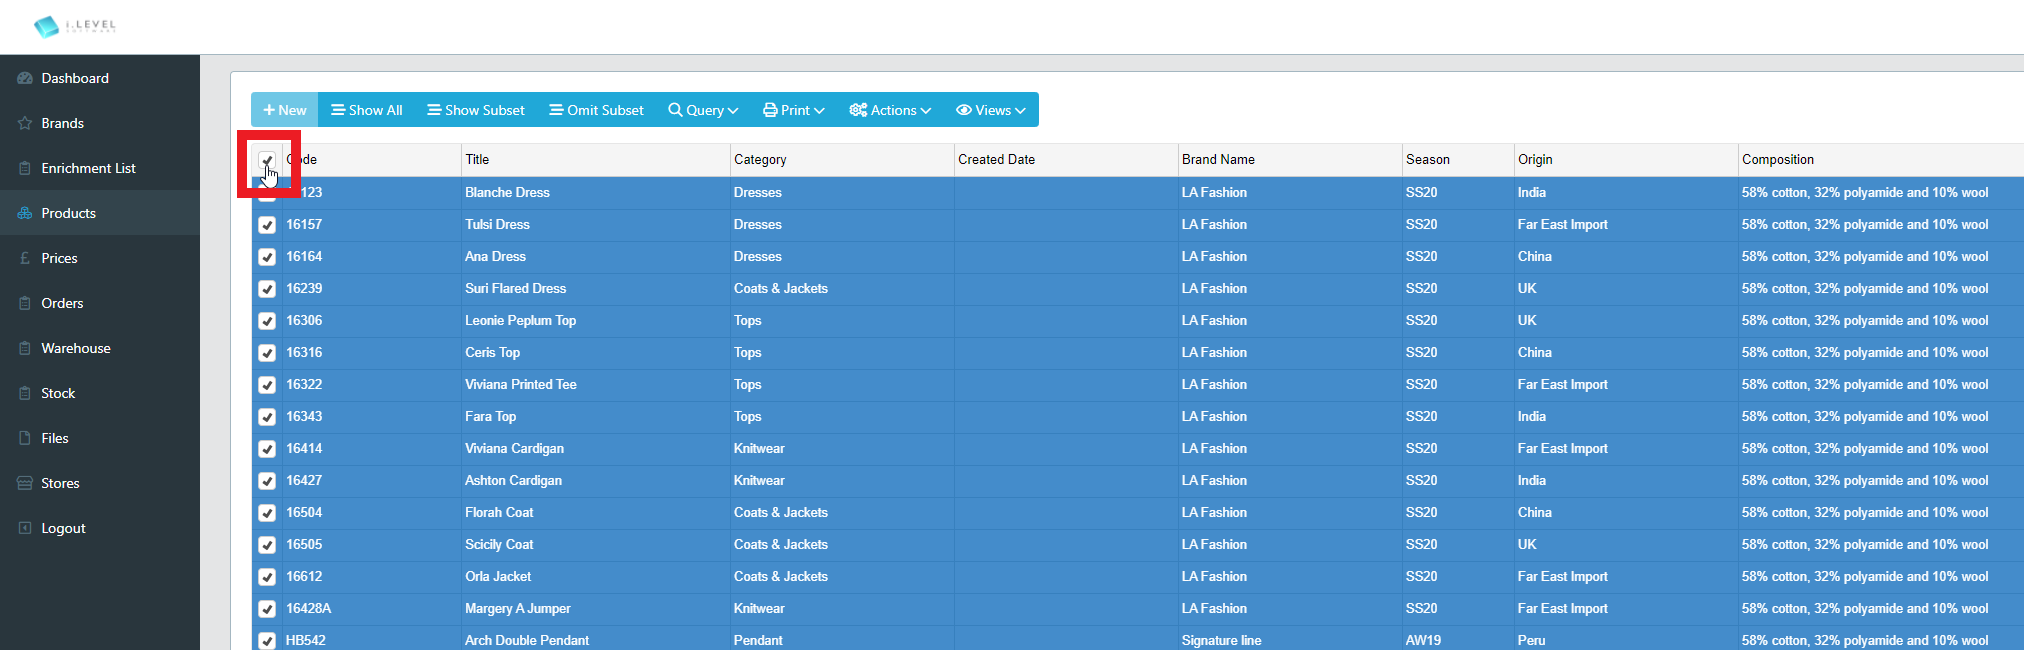
Records can be selected and unselected via the left most checkbox on all data listings. You can also select or unselect all displayed records via the checkbox left of the headers, highlighted below.
Double clicking any singular row will take you to a Detail Screen for the given resource, the functionality available in these screens varys greatly across the various resources. Please see the specifics under Resources to learn more.
New
Where active this button will allow the user to create a new record by displaying the input screen for the selected table.
Show All
The show all button displays all records for the current table listing.
Show Subset
The show subset button reduces the selection to the selected records for the current table listing. To select records click the checkbox to the left of each row.
Omit Subset
The omit subset button removes the selected records from the current selection for the current table listing. To select records click the checkbox to the left of each row.
Query
For most tables the query button will give you the choice between 'General Search' and 'Advanced Query'.
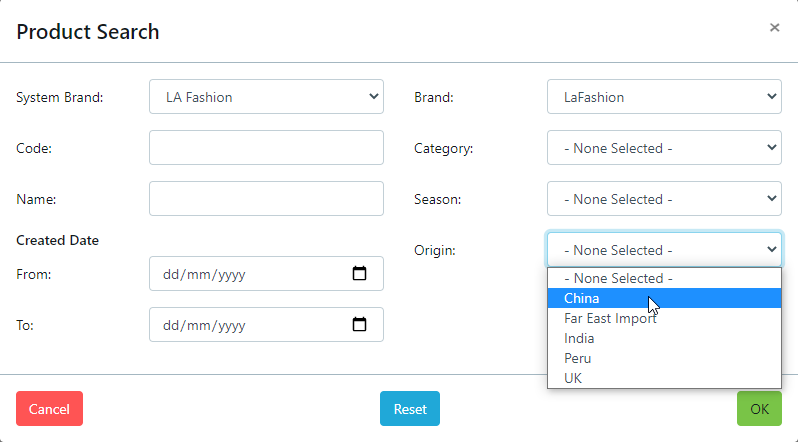
Selecting 'General Search' will open a bespoke input screen for the resource you are viewing, featuring dropdown menus and input fields (as seen in the example below) for a simple way of creating quick data queries.
Selecting 'Advanced Search' will open a generic screen designed for creating completely custom queries, however proper use of this interface requires a higher understanding of the data structure, please see Using the Advanced Query Editor for more information.
Print
The print menu is where you will find outputs such as Dispatch Notes and Invoices for your orders.
These menus are all specific to your current resources, please see Resources to learn more.
Actions
The action menu is where you will find processes such as file uploads, order dispatch and queueing products for enrichment.
These menus are all specific to your current resources, please see Resources to learn more.
Views
A 'View' within i.LEVEL Connect is a definition of the fields a listing displays. Each data listings accessed via the sidebar has a default view which shows the most commonly needed fields for that resource, but they also allow you to define your own set of views via the dropdown menu options.
New View
Opens the View Editor with a blank View for your current resource.
Edit View
If your current view was created by yourself, this opens the View Editor with your current view for editing.
Duplicate View
Creates a new instance of your current view and opens the View Editor view for editing. Useful when you cannot edit a view due to it being created by someone else, you can instead duplicate the view and make the ammendments for yourself.
Delete Current View
If your current view was created by yourself, this allows you to delete the view.
Export Data using View
A straight forward data export that outputs all currently displayed records to your choice of XLSX or CSV. The fields that this process exports are defined by your current view.
Relate
When in a listing it is often possible to switch in order to display related records in another listing. This can be done via the "Relate" option.
When clicked a list of related tables will display with the record count relative to the curent selection. Selecting the table from the listing will switch to the listing for the chosen table and load the related records.
Filter
Where implemented, wntering a value into the filter box and clicking on the magnifying glass will run a simple filter on some of the most common fields for the table.